|
|
|
How to clear the
blinker in HIDs (Clear the orange lens in headlight)
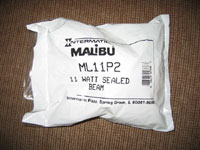
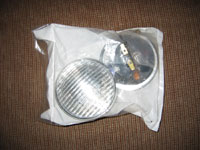
tools:
- Dremel with cutting tool
- Purchase clear lens from Home Depot or frosted lens from Tap
Plastics (contact info below)
Tap Plastics Inc
4538 Auburn Bl
Sacramento, CA 95814
| |
|
| |
Did this help you out? Feel free to throw us a bone to help keep housecor's how-to's hosted!
|
| |
|
(510) 357-3755
- Oven
- Small flathead screwdriver
- Torx bit (on some models) - otherwise metric socket (size unknown)
- Old towels
- Channel locks
INSTRUCTIONS:
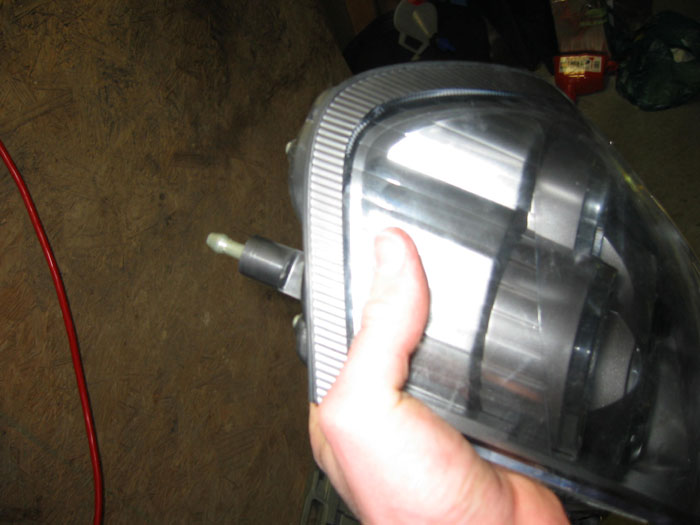
| 1. |
Remove headlight from vehicle. Take care not
to scratch the fender with the metal mounting pin.

|
| |
|
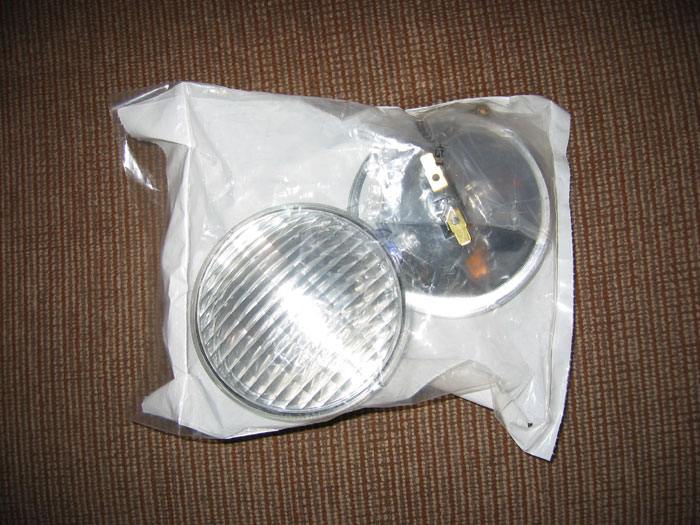
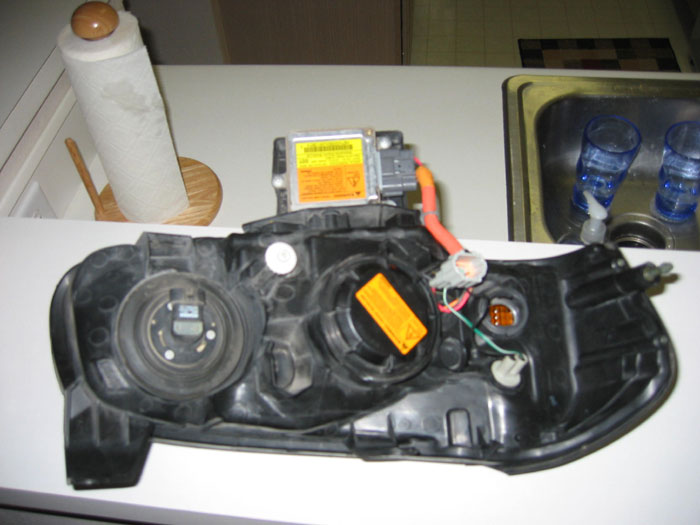
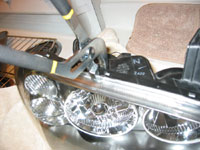
| 2. |
Remove bulbs and ballast from headlight. The ballast has
the yellow and orange sticker in the picture below. It is
attached with 3 screws.

To remove the HID bulb, rotate the plastic cover counterclockwise.
Then squeeze the 2 metal pins toward each other. Take
care not to touch the bulb!

|
| |
|
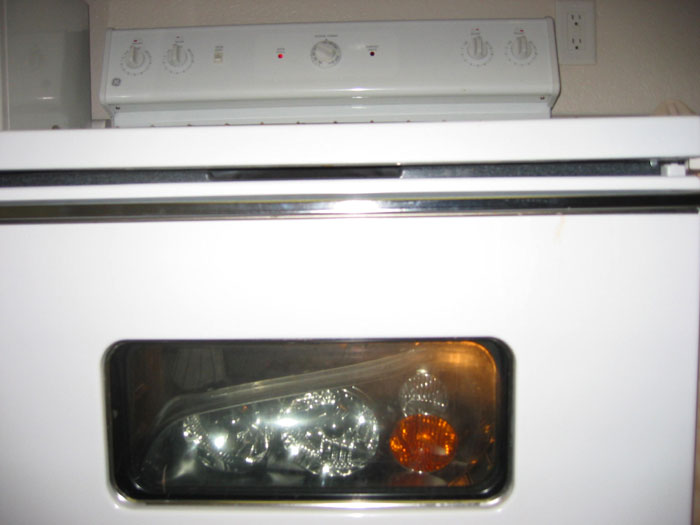
| 3. |
Bake headlight in oven on cookie sheet for
15-20 minutes at 200 - 250 degrees. The scary part:

|
| |
|
| 4. |
Remove headlight from oven with old towels
(will be very hot) |
| |
|
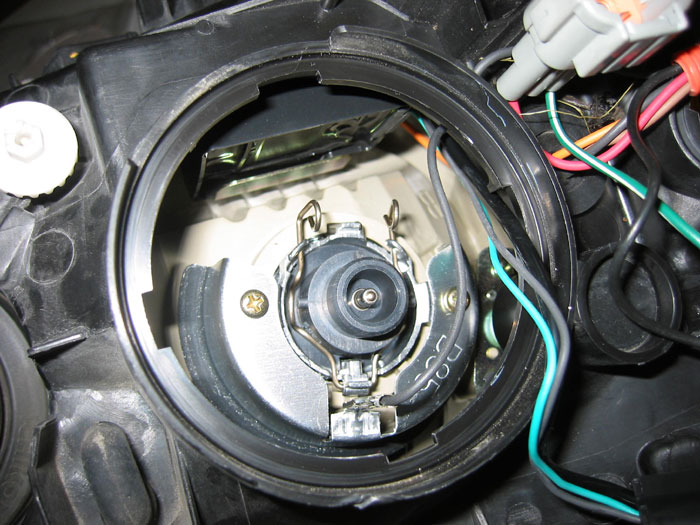
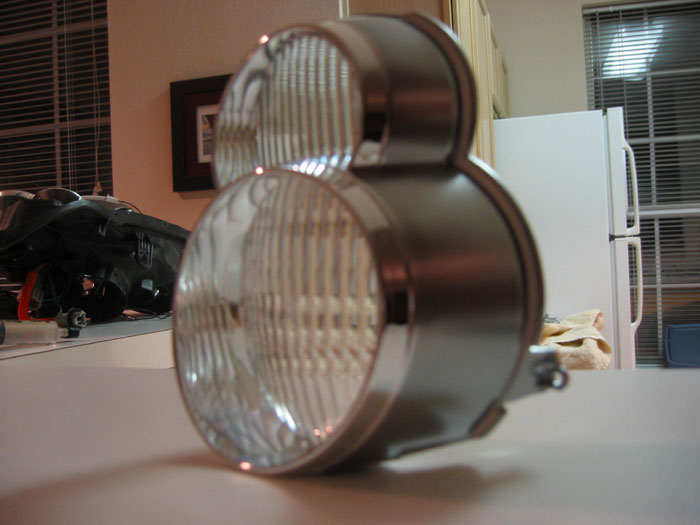
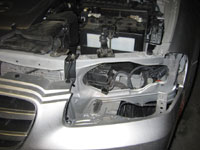
| 5. |
Remove amber lens carefully. Use small flathead
screwdriver to pop lens out of tabs. Silver tabs are visible
below.
|
| |
|
| 6. |
Use amber lens to trace onto clear lens |
| |
|
| 7. |
Cut out clear lens with Dremel. Lens from
Tap Plastics comes pre-cut and drops right into place. |
| |
|
| 8. |
Install clear lens taking care to ensure that
it fits snug under the tabs. If the lens is a little loose,
apply 90-second epoxy lightly around the edge to assure a tight
fit

|
| |
|
| 9. |
Reassemble headlight as best you can and
return headlight to oven |
| |
|
| 10. |
Bake for 15-20 minutes at 200 - 250 degrees |
| |
|
| 11. |
Remove from oven with old towels (will be
very hot) |
| |
|
| 12. |
Use channel locks to assure a tight seal
|
| |
|
| 13. |
Reinstall headlight |
| |
|
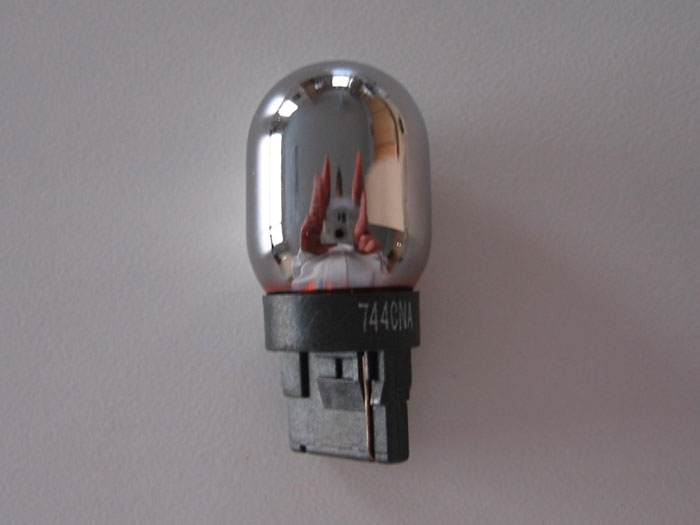
| 14. |
To produce a clear effect and retain
amber blinking, I suggest using a chrome blinker bulb:
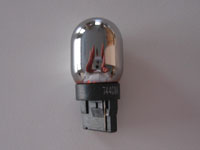
I purchased mine from
autolumination. Alternatively, you can create your own by spraying the stock bulb with a light misting of silver paint. |
| |
|
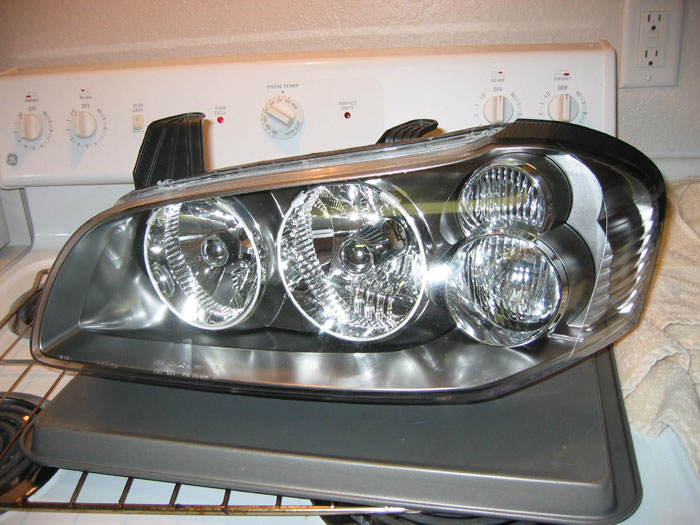
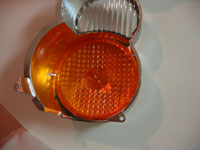
| 15. |
Enjoy. The finished product:

More pics are available in the gallery. |
|
|
|
|
| |
Copyright
© 2003-2009. All rights reserved.
Instructions are for entertainment purposes only. Perform at your
own risk.
This site is in no way affiliated with Nissan North America, Inc.
Nissan, the Nissan Brand Symbol, "SHIFT_" tagline, and
Nissan Model Names are trademarks of Nissan North America, Inc.
|
|